Filtering Layers in the Attribute Table
This topic on attribute table filtering includes the following sections:
Set and Apply a Filter
To filter results in the Attribute Table widget ![]() :
:
-
Open the Attribute Table using the Attribute Table widget
 located in the bottom right of Map Studio.
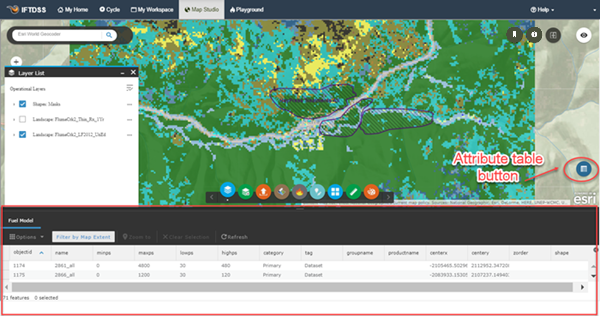
-
Select Options
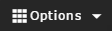 and click Advanced Filtering to open the Filter dialog box.
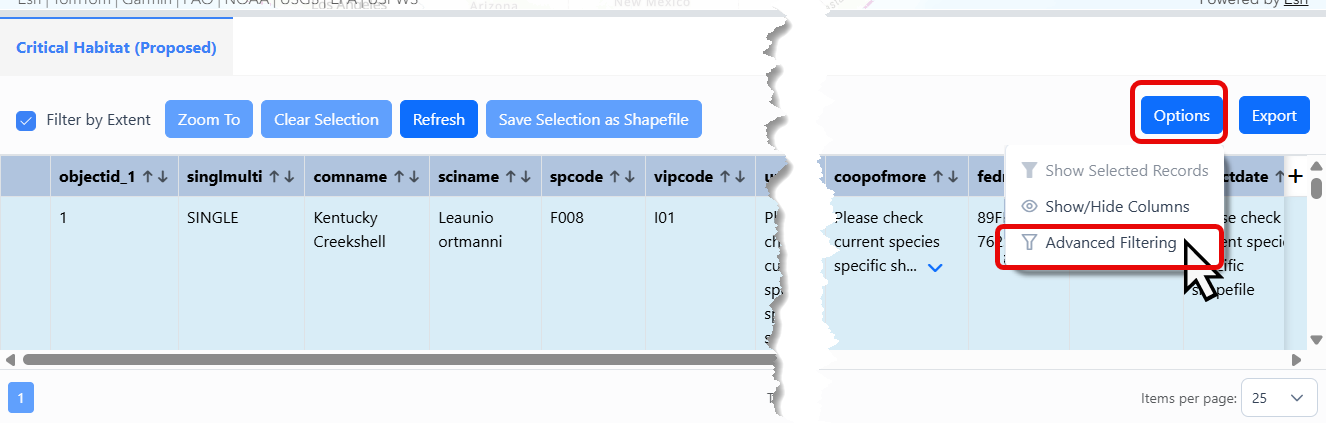
-
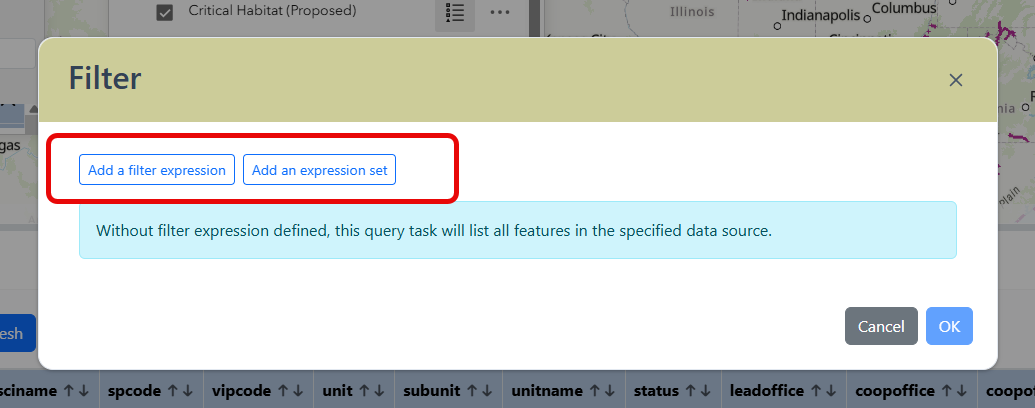
From the Filter dialog box, select Add a filter expression to add one or more filter criteria, or Add an expression set to add multiple filter criteria.
-
Populate the filter parameters and click OK in the bottom right to apply the filter. More information on filter parameters is listed below for Add a filter expression and Add an expression set options.
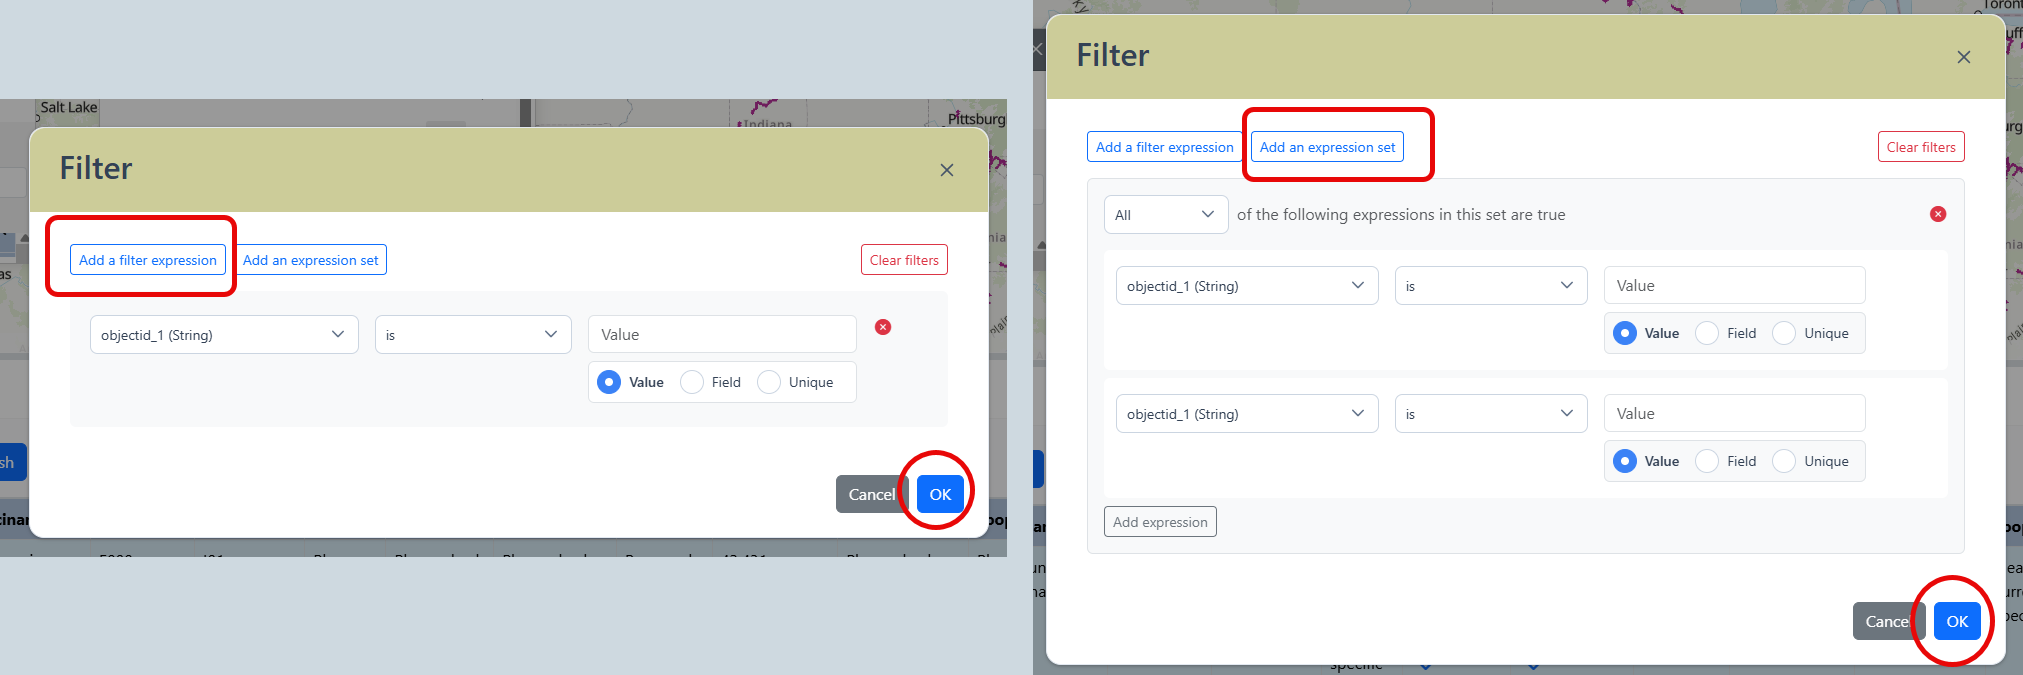
Filter Expressions
This section describes :
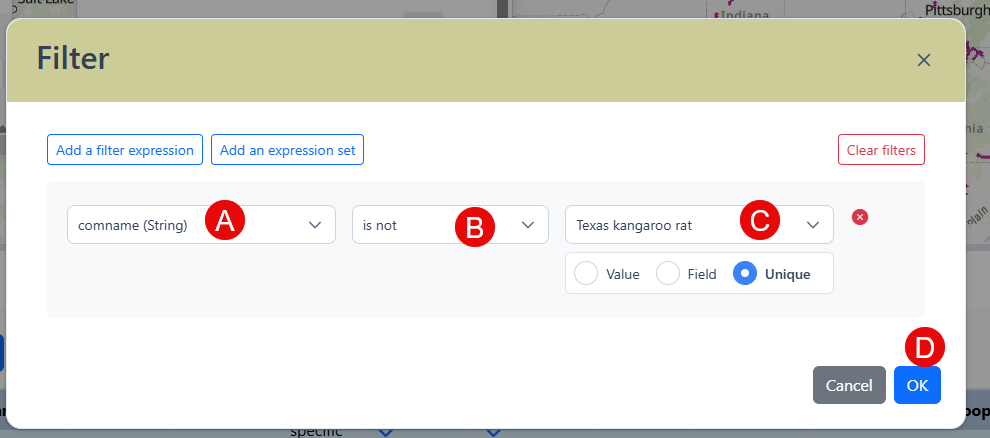
Add a filter expression
-
In the first (far left) dropdown menu, specify a field from your dataset to filter by.
-
Select an operator by which to filter such as "is," "is not," "contains," "does not contain," etc.
-
Use the select box to specify whether you are filtering a value, "field", or "unique." The "field" and "unique" options are both populated based on your data.
-
Select OK in the bottom right to apply your filter.
-
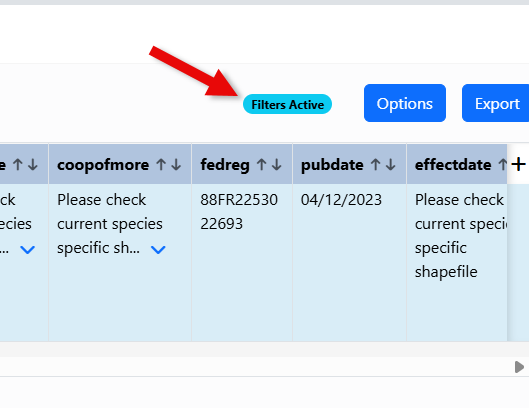
When the filter is applied, the Filter dialog box closes and a Filters Active indicator is visible in the top of the attribute table next to the Options button.
Add an expression set
-
Specify whether "all" or "any" of the following expressions in the set are true.
-
In the first (far left) dropdown menu, specify a field from your dataset to filter by.
-
Select an operator by which to filter such as "is," "is not," "contains," "does not contain," etc.
-
Use the select box to specify whether you are filtering a value, "field", or "unique." The "field" and "unique" options are both populated based on your data.
-
Repeat steps B through D for the second set of filter expressions.
-
(Optional) Add an additional expression if needed. To remove an expression set, click the red remove
 button to the right of the set.
 -
Select OK in the bottom right to apply your filter.

-
When the filter is applied, the Filter dialog box closes and a Filters Active indicator is visible in the top of the attribute table next to the Options button.
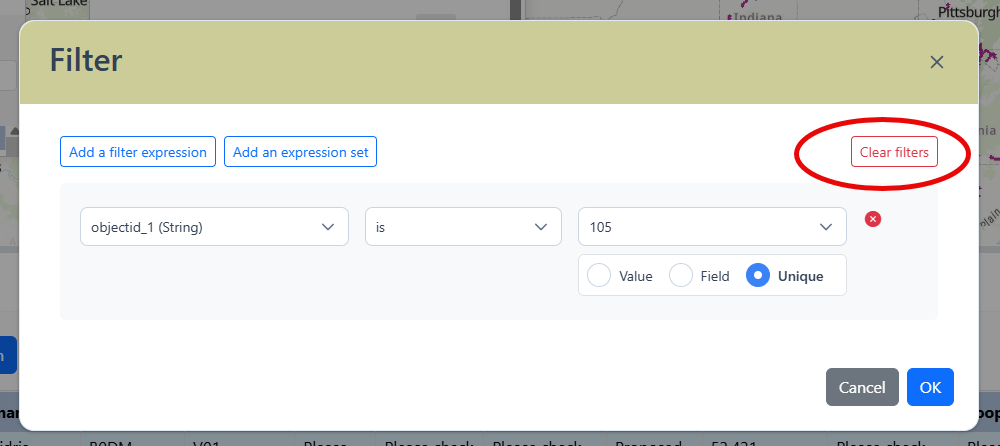
Removing a Filter
To remove an active filter:
-
Select Options
and click Advanced Filtering to open the Filter dialog box. -
Click the Clear filters button in the top right.
-
Once the Clear filters button is clicked the Filter dialog will close and the filters will no longer be applied. This can be confirmed by the absence of the Filters Active indicator to the left of the Options button.
