Change Symbology
When viewing polygons, lines, or points in Map Studio, you may change the symbology by:
-
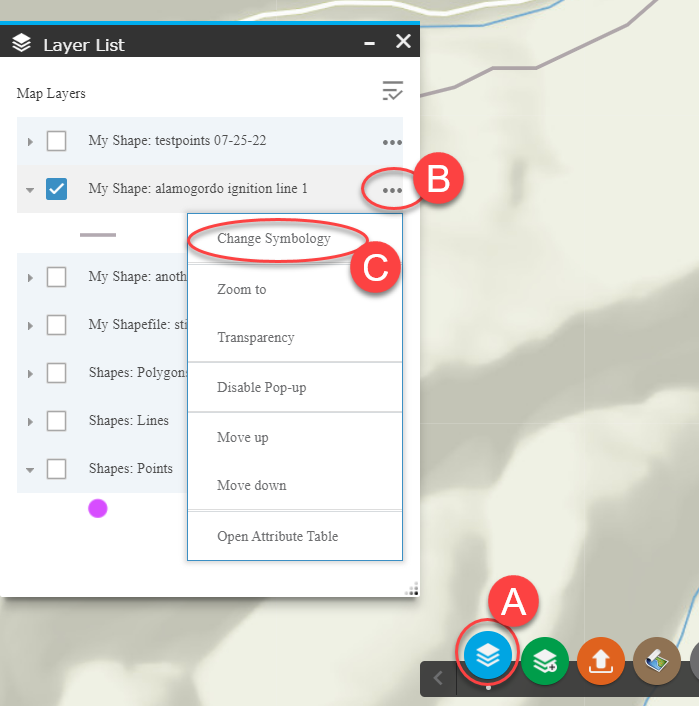
Opening the Layer List
 .
. -
Click More Options
 .
. -
Select Change Symbology.
-
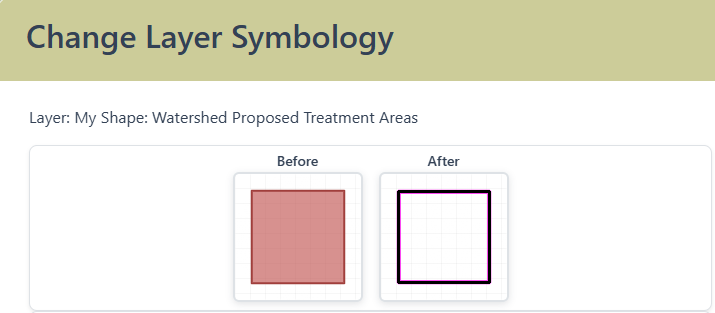
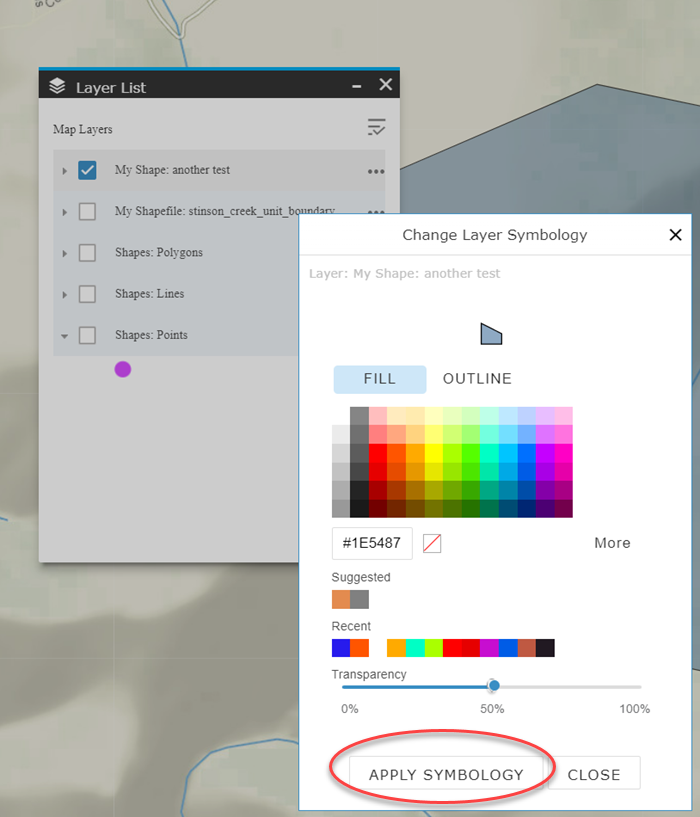
Change the symbology as desired. In the top of the dialogue box you can see a preview of the shape changes.
Changes available include:
-
Symbols (for points)
-
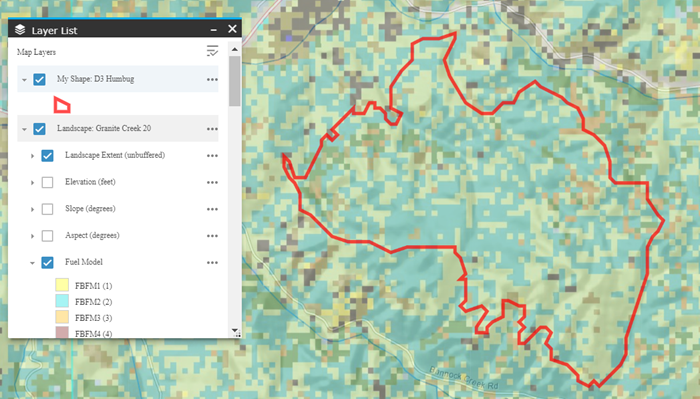
Option to remove fill color for polygons to better view the area within the polygon
-
Color for fill and outline. Color can be set using a color picker, entering a HEX code, or RGB code.
-
Transparency
-
Outline width
-
-
Once satisfied with your changes, click Apply Symbology.
Once you have changed the layer symbology, these changes will persist throughout future Map Studio sessions.