How to Edit or Repair Uploaded Shapefiles
When uploading shapefiles with multiple adjoining polygons, IFTDSS will automatically join the polygons into a single dataset; this process may create erroneous gaps or vertices where these polygons once touched. The steps below outline the process of repairing or cleaning these polygons and re-saving them as a new shapefile.
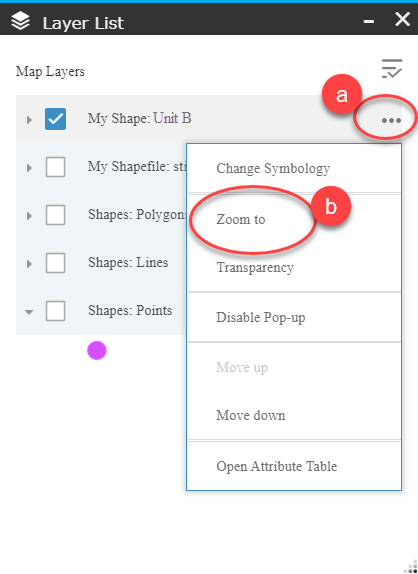
- Click the More Options button to the right of your shapefile and
-
Click the Zoom to option. This will zoom to your newly uploaded shapefile.
To Edit a shapefile:
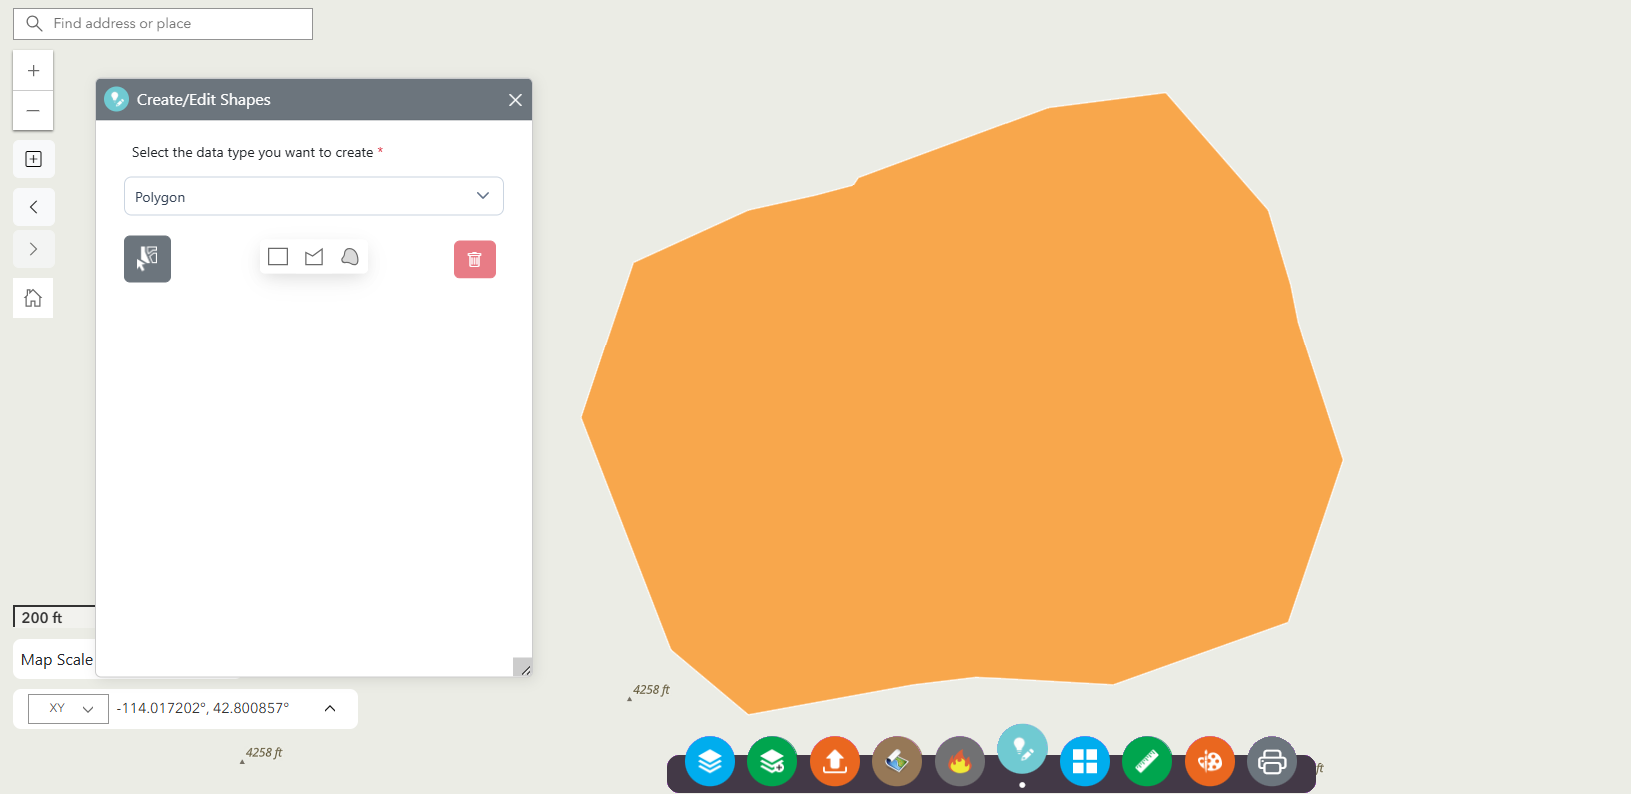
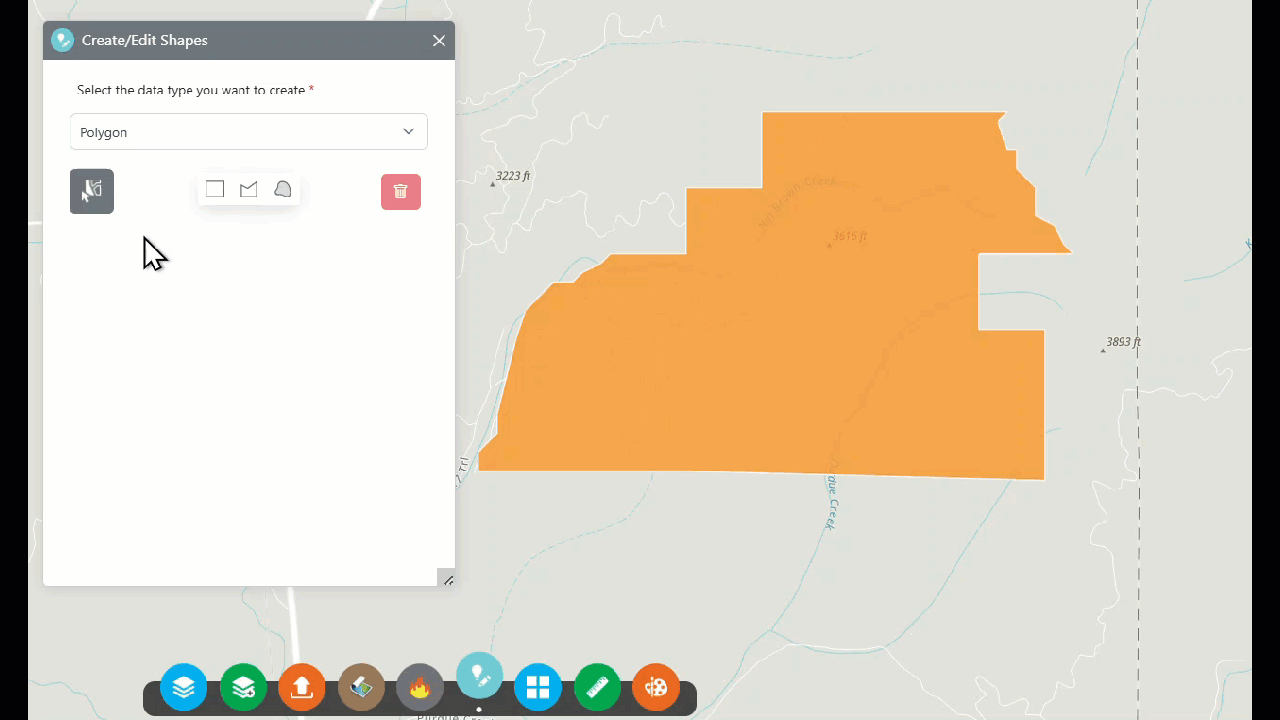
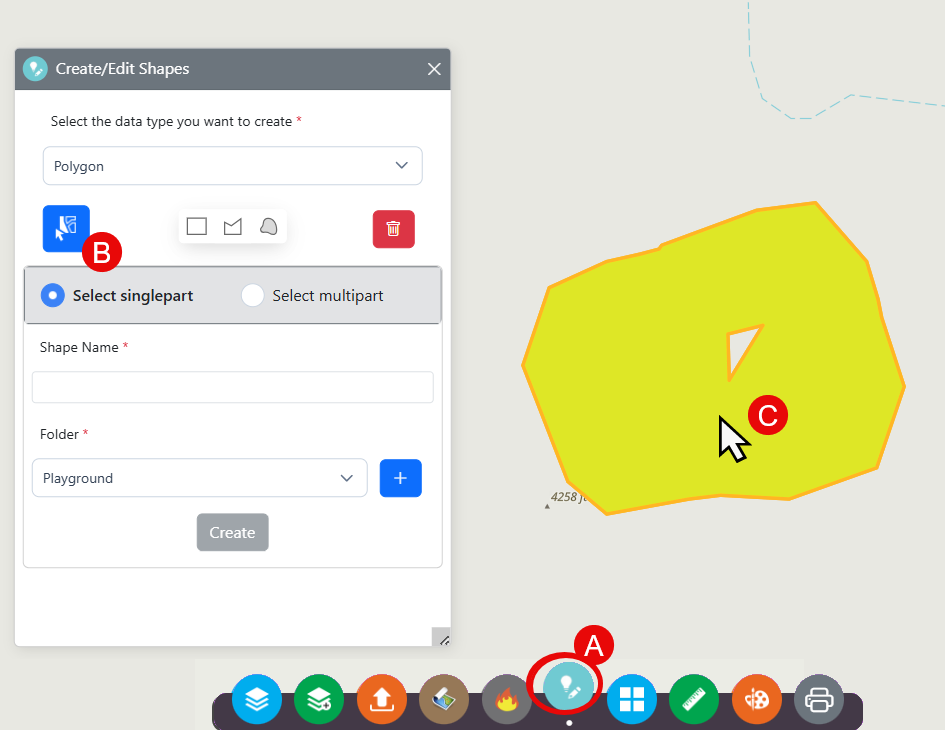
- Open Create/Edit Shapes
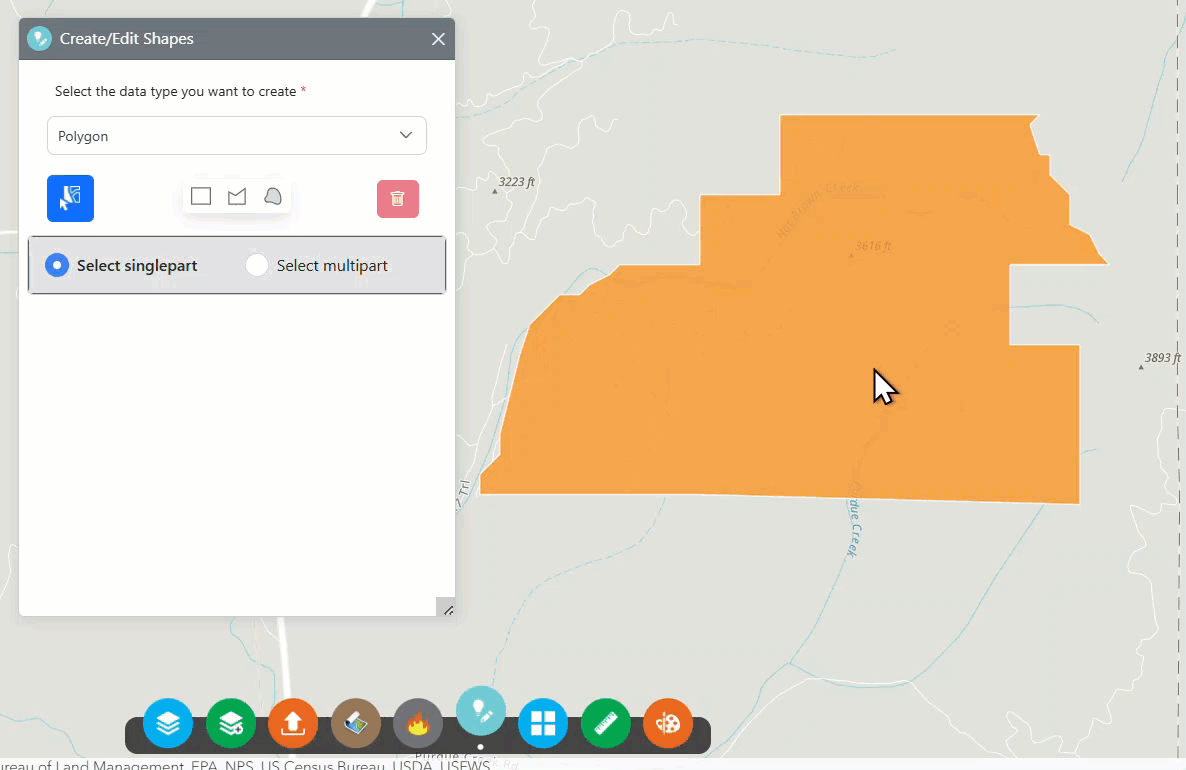
 from the bottom of Map Studio and click Copy from Existing Features
 . To edit only one polygon, choose Select Singlepart, or to edit multiple polygons choose Select multipart.
 -
Scroll to the map and single left click the mouse button over the polygon you intend to copy. There are then two methods to edit:
-
Single left click a second time then drag to move the shape, or use the vertices in one of the four corners to resize the shape.
-
Single left click a third time to display and edit polygon vertices.
-
Move a vertex by hovering over it, holding down the left mouse key, and dragging it to the correct position.
-
Delete a vertex by hovering over it, and single clicking the right mouse button once. Only vertices displayed in orange may be removed.
-
-
-
Continue your edits until you are satisfied with your shape.
-
Save the new shape by giving it a descriptive name in Create/Edit Shapes, specify the folder to save the file to, and click Create. The new shape will now be available in My Workspace for use throughout IFTDSS.
Open the shapefile to be repaired then zoom to your shapefile:
-
Open Edit Tools
from the bottom of Map Studio. -
Click Copy from Existing Features
, then choose Select Singlepart, or to edit multiple polygons choose Select multipart. -
Click the shape to highlight it.
-
Click the rectangular extent
 polygon
  or freehand
  buttons within the Edit Tool and draw a small polygon over the hole you wish to fill.
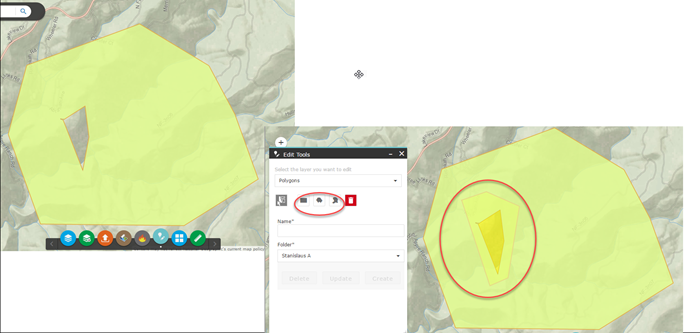
-
Give the repaired shape a name, select a folder to save it in, then click Create to create the newly repaired shape.