Working with Folders
You may organize your workspace by creating or deleting folders for your project files. Below we've outlined the steps for:
Creating Folders
-
Create a folder by clicking the Create Folder option at the top of the My Workspace page.

-
Give your folder a name and click Submit.

-
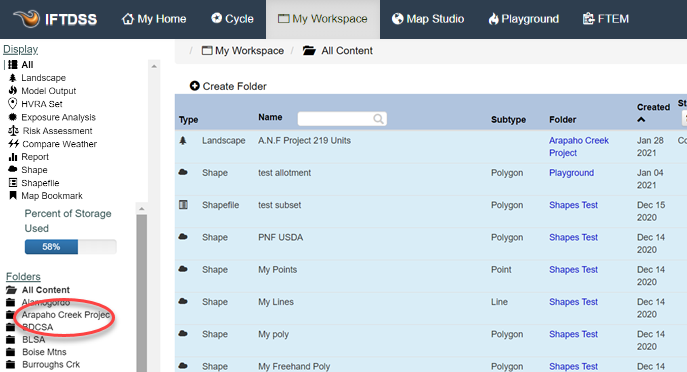
Your new folder will now be visible in the Folders list.

Deleting Folders
Important! Folders can only be deleted if it is empty. To delete a folder with contents, delete the contents first, then delete the folder.
- To delete a folder in My Workspace, hover over the folder name in the left panel. A delete
 icon will appear to the right of the folder name.
 -
Click the delete
icon.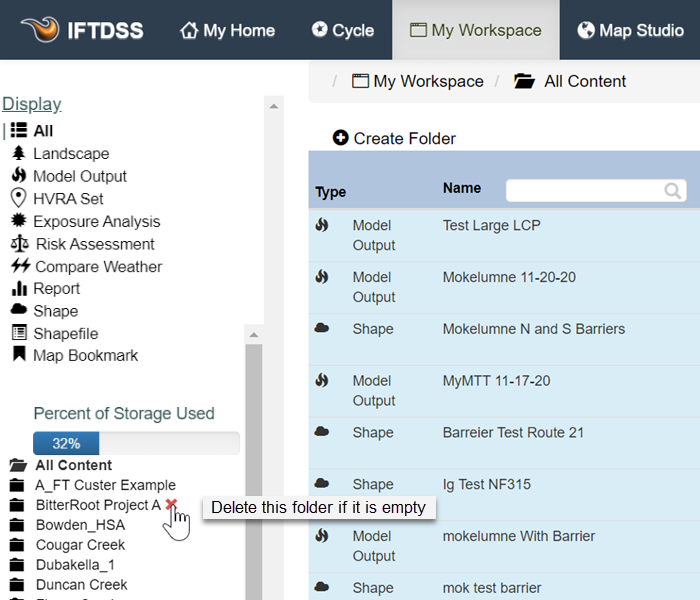
- You will be asked to confirm your deletion, click "Yes."
Moving Files to Another Folder
-
To move a file from one folder to another, click the file you want to move.
-
In the file options that appear under that file, click the More Options
 button and select Move to.
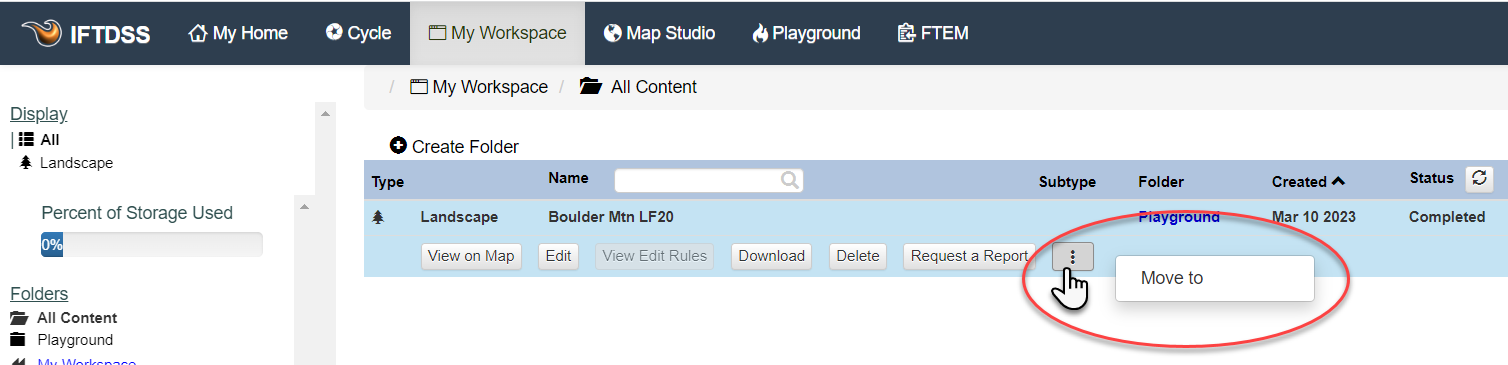
-
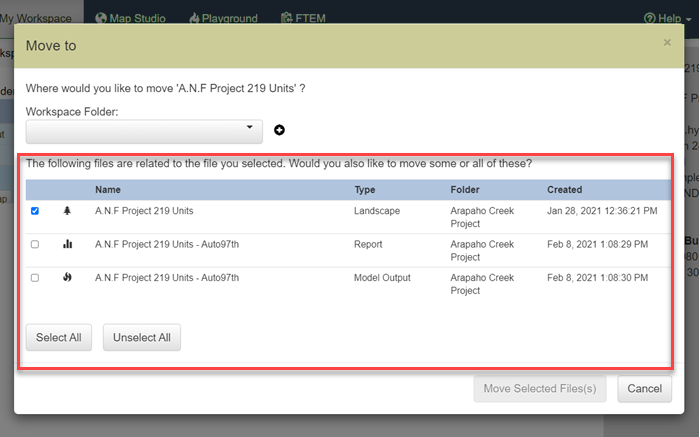
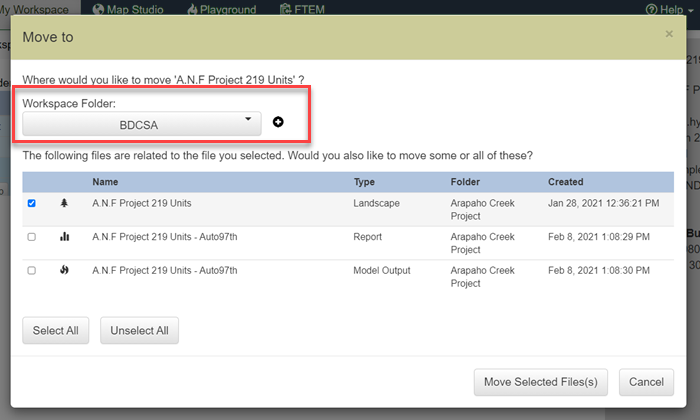
The "Move to" box will open, displaying the file(s) to move. Ensure the checkbox is filled next to the file(s) you want to move, or use the Select All button to move every file on the list.
Tip: You may see a list of multiple files in additional to the one you originally selected. This list includes all files directly related to the file selected.
-
Select the folder you need to move the file(s) to, and click Move Selected File(s).
-
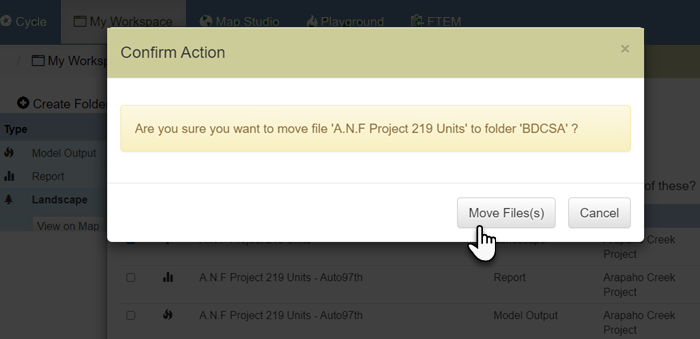
You will be prompted to verify your selection, click Move File(s).
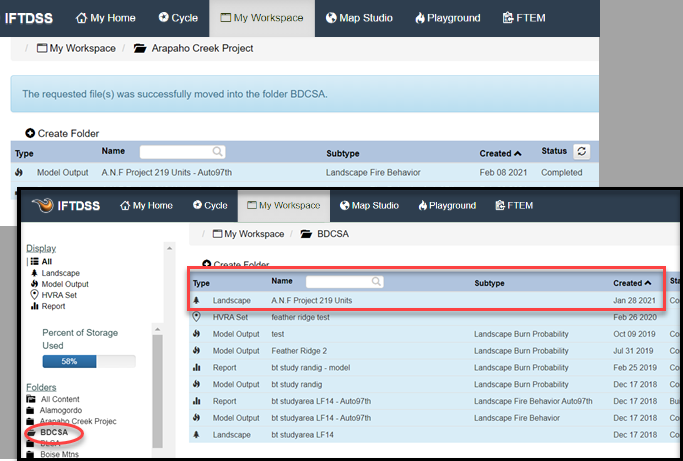
- Your file will be moved to the new folder, and a confirmation message will appear at the top of My Workspace to verify your files have been moved. It may take a few seconds for this to become visible.
Renaming Folders
-
To rename a folder in My Workspace, hover over the folder in the left panel. An edit
 icon will appear to the right of the folder name.
 -
Click the edit
icon.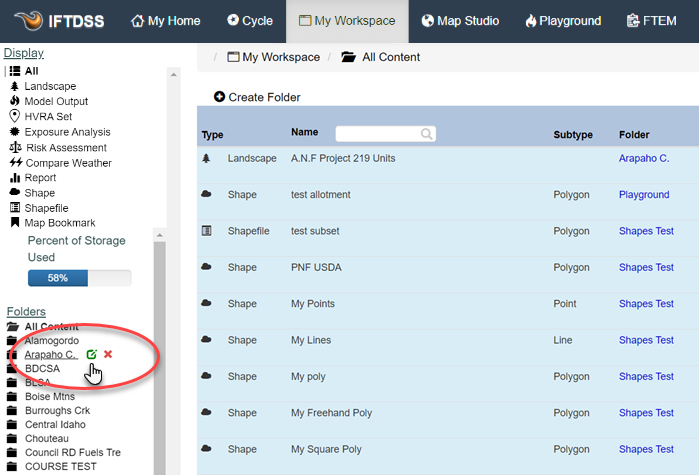
-
Type the new name of the folder in the Rename Folder box that appears and click Rename in the lower right of the box.

-
Your newly renamed folder will now be visible in the Folders list.